")

December 4, 2022
DIY Gratitude Advent Calendars – The Perfect Gift this Holiday Season
I’ve always loved advent calendars but never made one myself. Until this year!
When the kids are still little, there’s nothing more fun than making your own gratitude advent calendar.
It’s such a unique way to teach your children about gratitude, and it creates memories that will last for generations.
Advent calendars carry an underlying spiritual message of anticipation and hope, which is why they’re so popular.
They’re also incredibly easy to make at home. In this post, I’ll share how.
How to make your own advent calendar
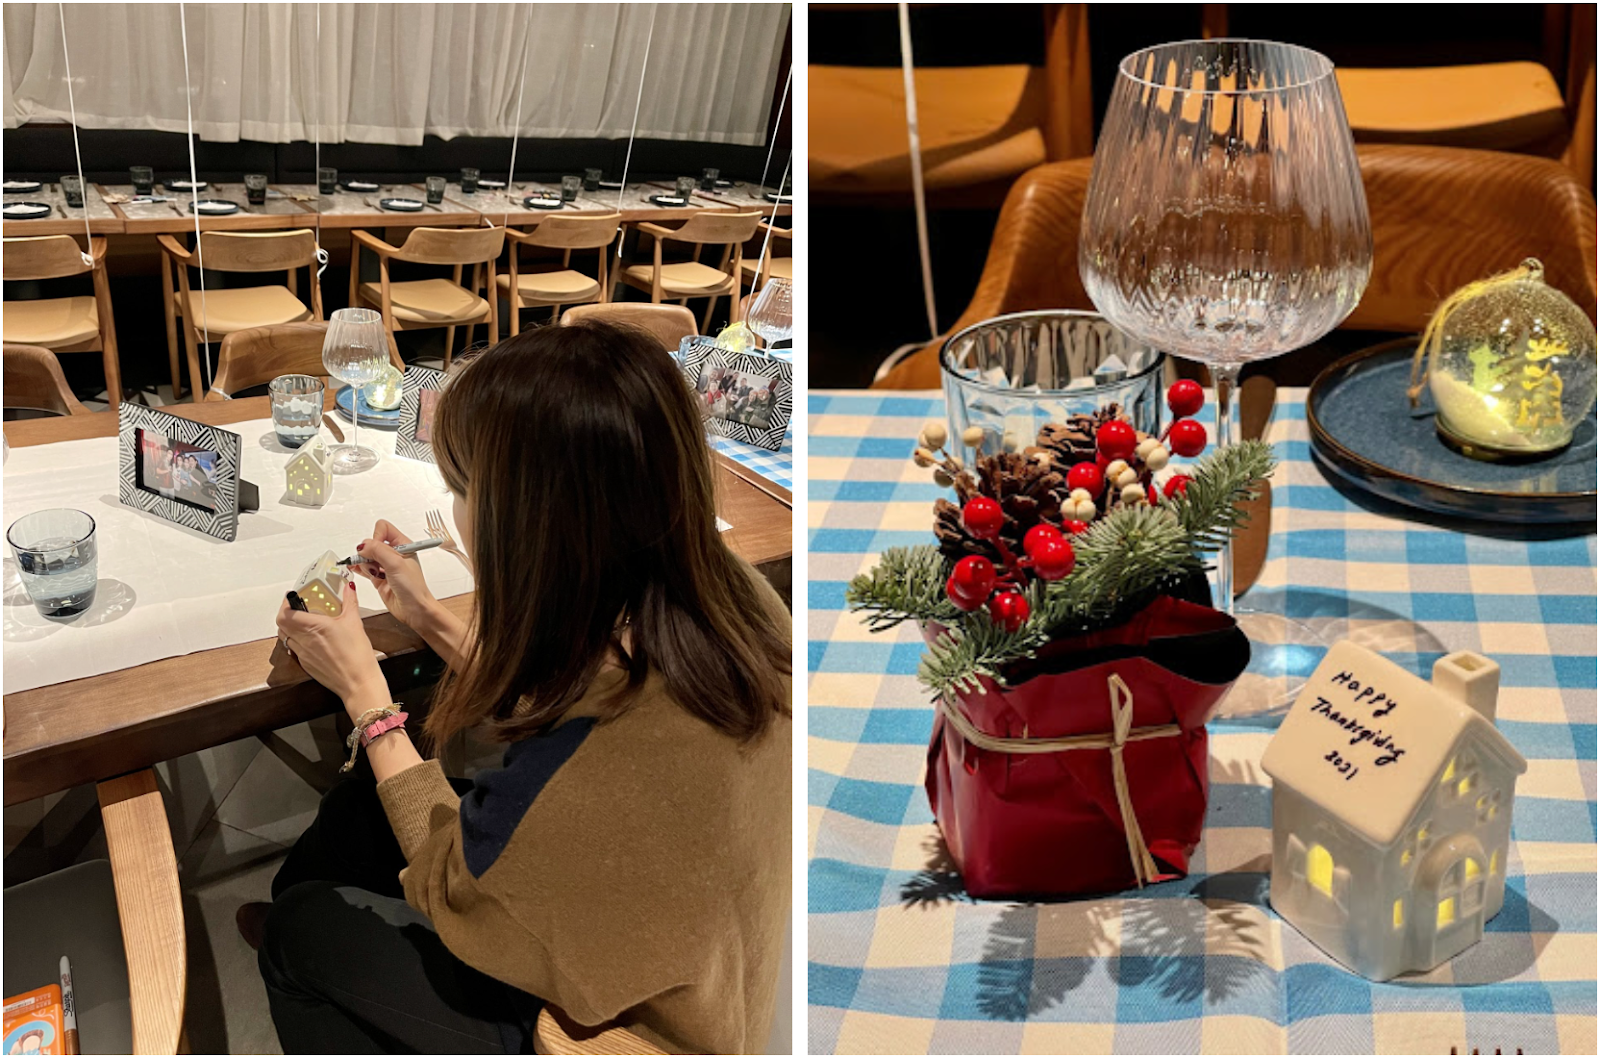
These gratitude boxes (as I’ve lovingly nicknamed them) are a fantastic gift to DIY for your children, but adults can enjoy them as well. I ended up liking the process so much, I made one for each one of my family members.

Step 1. Create your container
I was lucky enough to find these styrofoam containers with different size compartments for a few dollars online.
Don’t fret if they are not available where you are; there are plenty of other options to choose from.
Here’s some of favorite DIY advent calendars to inspire you:
- use a cork or bulletin board to pin colorful envelopes with goodies inside
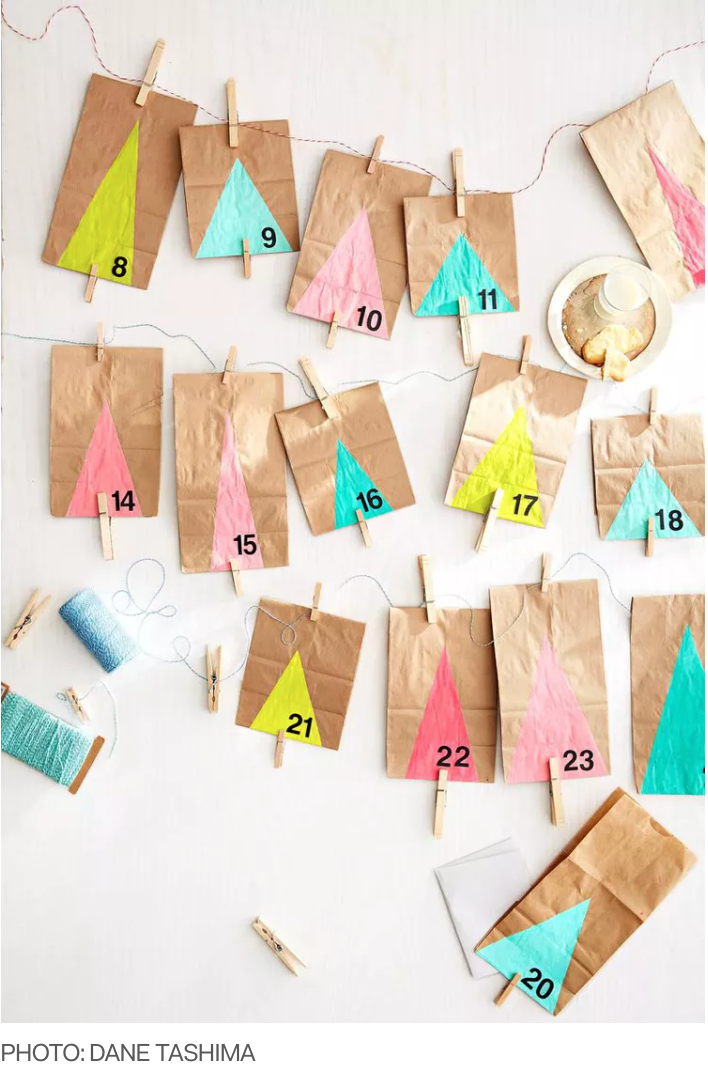
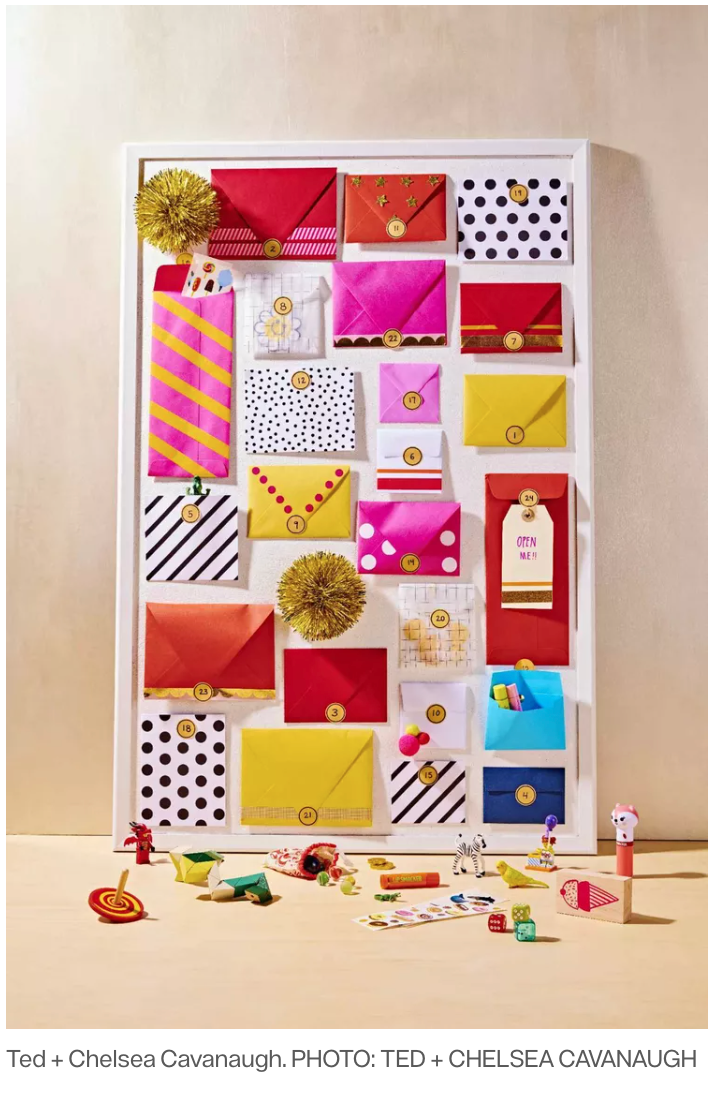
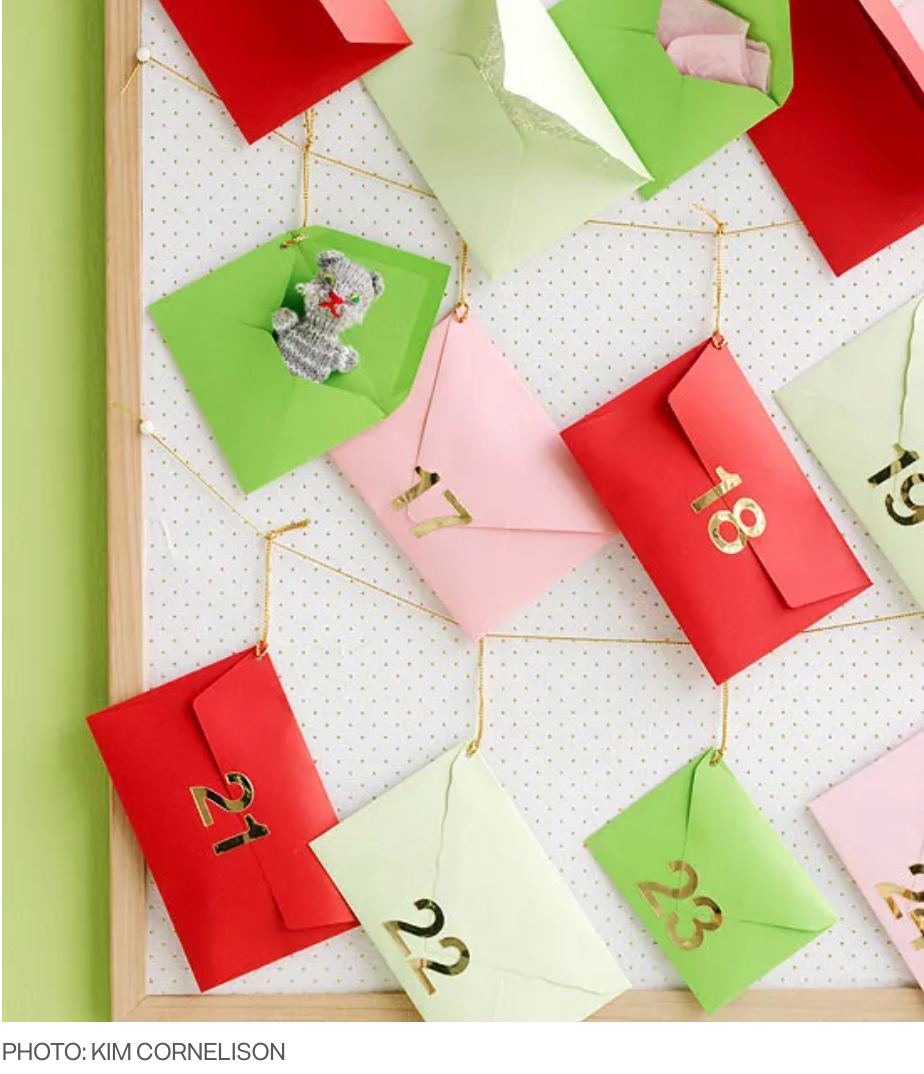
- use metal tins keep your daily surprises hidden
- you can even make your boxes out of old toilet paper rolls

Choose your favorite way to contain your daily gifts and proceed to step 2.
Step 2 – Fill 1/3 of the calendar with a variety of prizes and fill the rest with gratitude questions or conversation cards.
Make sure your questions are age appropriate. For example, for kids you may want to include questions like:
- What is the best thing that happened to you today?
- Who is your favorite person and why?
- What is something that makes you happy?
- Name one of your best friends, and describe what makes them special to you.
- Who makes you feel loved and how?
- Describe one of your favorite memories.
- What is your favorite thing about your home?
- What skill or strength are you most thankful for?
- What is your favorite thing about this season?
- What is something nice your parents (or another adult) do for you?
- Describe something that makes you laugh.
- What do you love about each family member?
- If you could be granted one wish, what would it be?

Step 3 – Put the finishing touches on your advent calendar
Get creative and add your own flair to your calendar. For my own, I printed pictures of our family and used doubles sided tape to secure it to the box.
If you like this idea, you can add your pictures behing the envelopes for example, so that the image is slowly revealed as each day goes by.
You can also draw, paint or embelish your calendar in any other way you want. Let your imagination run wild! It will make the final result that much more meaningful.
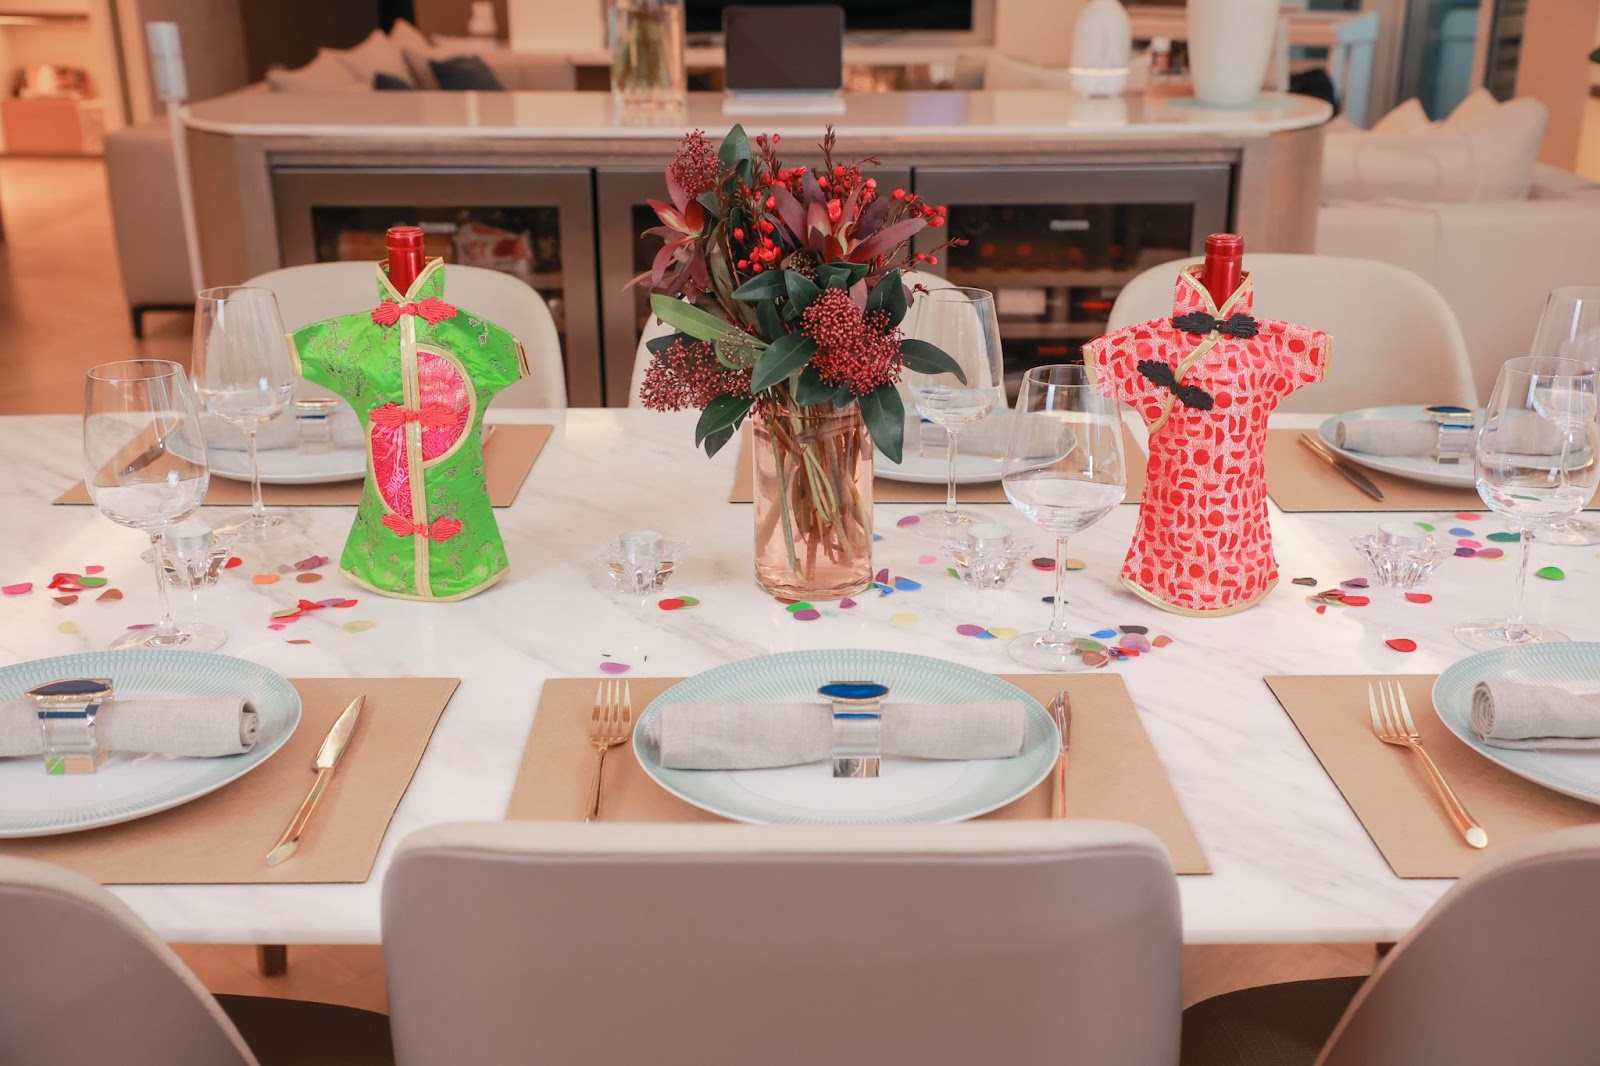
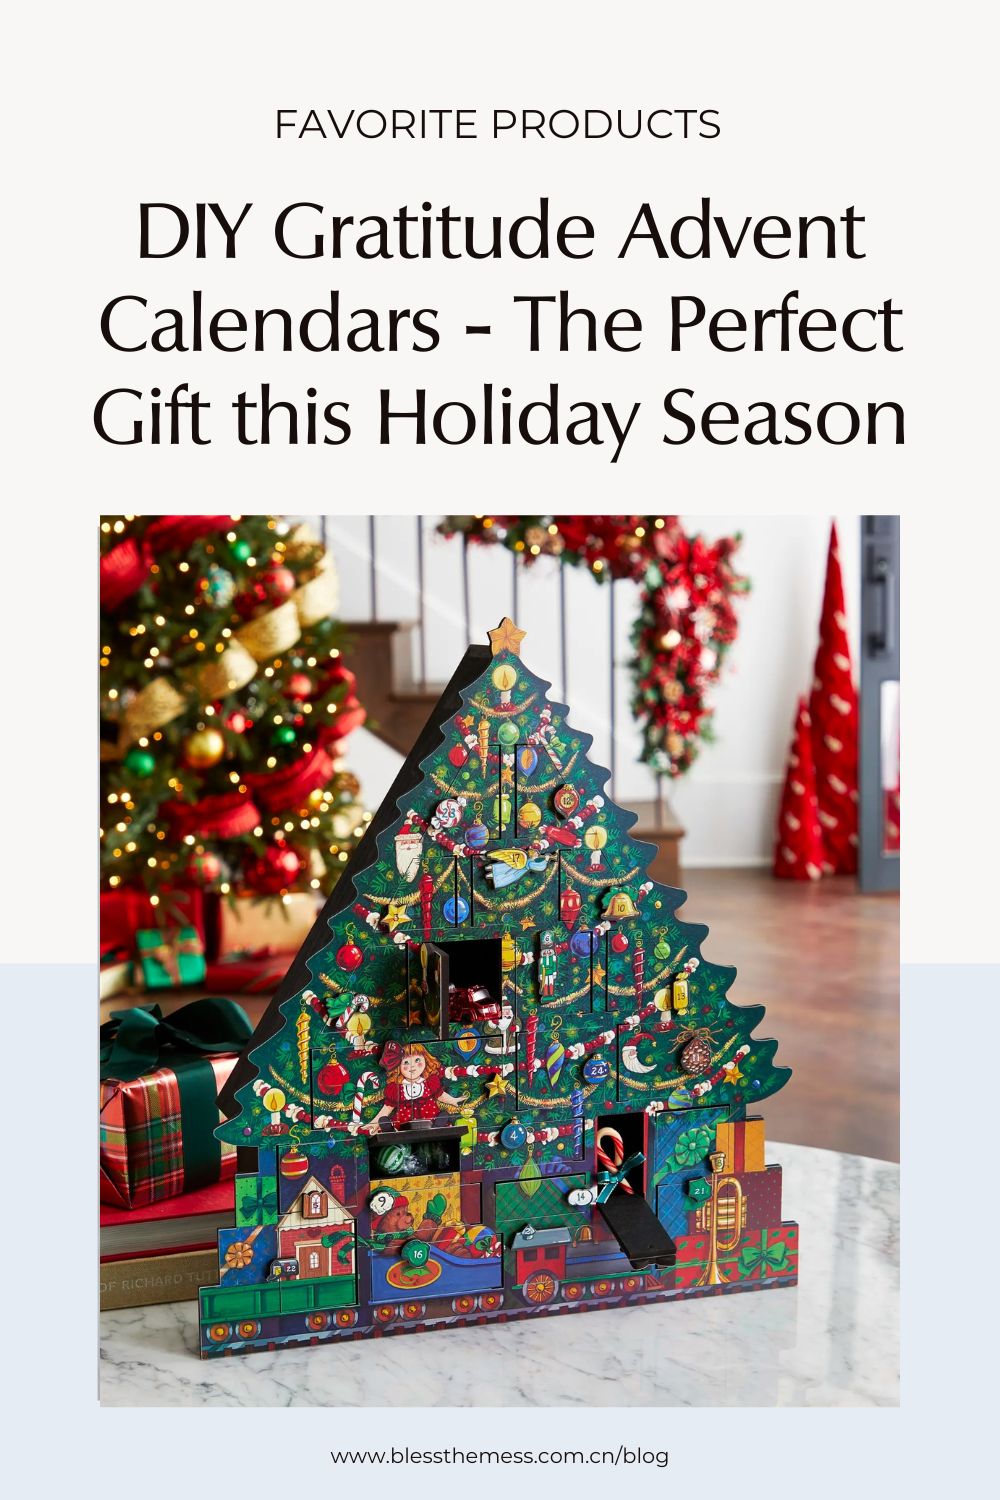
Beautiful advent calendars for purchase
If you don’t have the time to DIY but love the idea of advent calendars, check out the beautiful creations by Neiman Marcus.
Some of them are made to be reused so you can continute to create memories every Christmas for years to come. Here’s some of my favorite styles:


Will you DIY an advent calendar this year? I’d love to see what you create! DM me your results on instragram.
hope, which is why they’re so popular. In this post I’ll show you how to make one at home.
Before You Go…
MAKE SURE TO FOLLOW US FOR MORE GOOD IDEAS
Instagram | Facebook | Little Red Book | Wechat
You can also contact me or subscribe to my newsletter here.
PIN IT FOR LATER ↓

MAKE SURE TO FOLLOW US FOR MORE GOOD IDEAS
Instagram | Facebook | Little Red Book | Wechat
You can also contact me or subscribe to my newsletter here.
PIN IT FOR LATER ↓
Leave a Reply


Bring Tidy Home
with Our Newsletter.
Receive our free resources and stay up to date with the latest blogs, organization challenges, events, and more!


You may Also Enjoy...
browse the latest posts


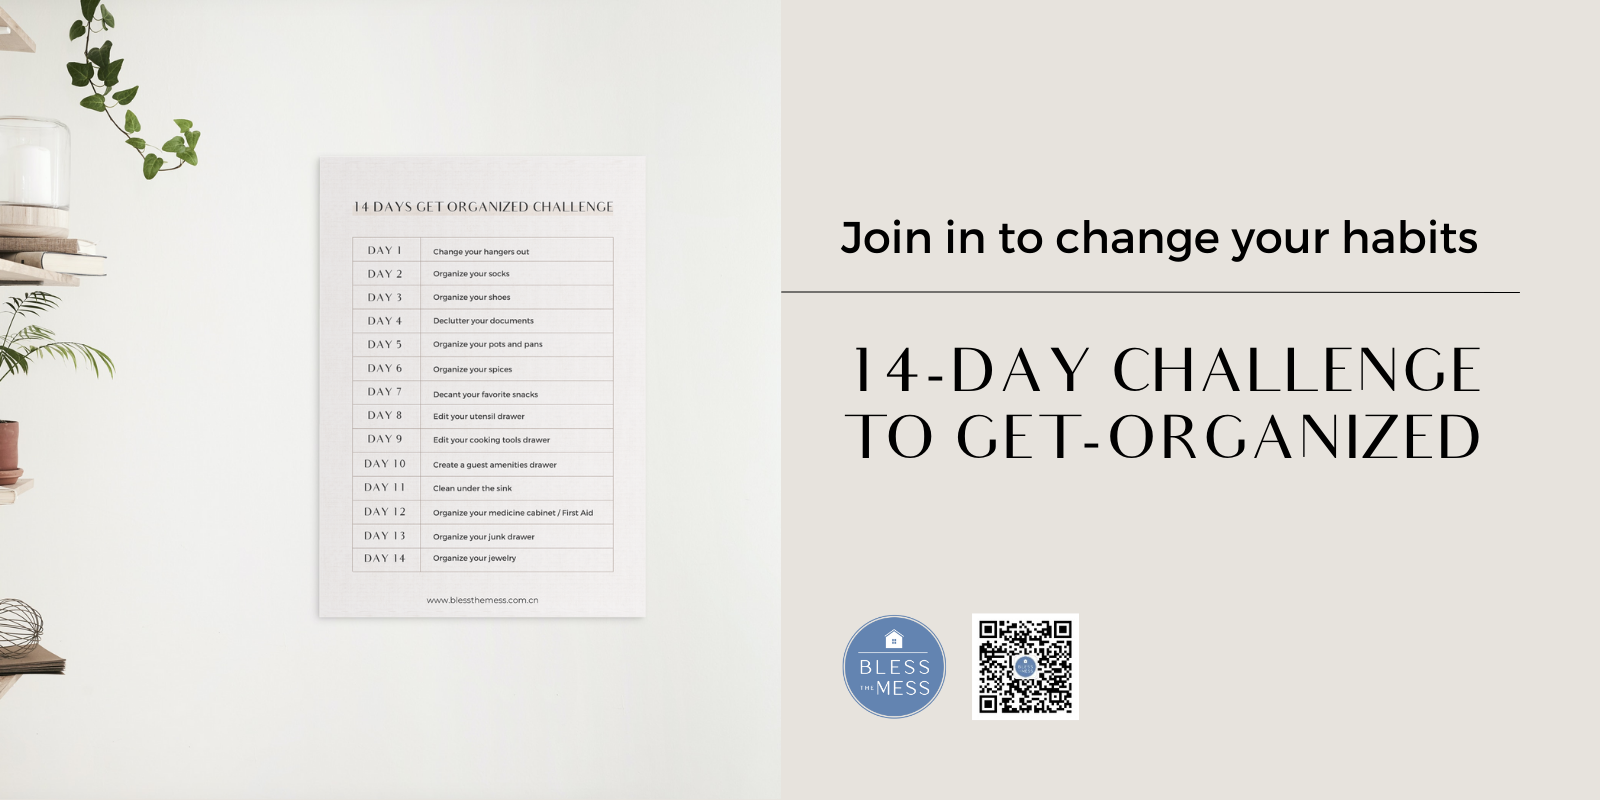
Get Organized Challenge
Commit to Organize Your Life in 14 Days
Lorem ipsum dolor sit amet, consectetur adipiscing elit. Suspendisse eu lacinia metus. Quisque lacinia mi vitae nunc sollicitudin, a dignissim sem imperdiet.
Join Now


添加我的微信号
微信ID:blessthemess-sh
